
Your rental photos have serious selling power. Learn how to photograph your Navarre Beach property to catch the eye and attract more bookings.
Mastering Navarre Beach Vacation Rental Photography
This is a fact no vacation rental owner can deny: your rental's photos are sales material. And they are often the first thing that introduces your property to potential guests.
Great rental photography does two jobs at once. It shows guests what they're getting, of course, but the real magic is helping them picture themselves there. Coffee with a Gulf view, a well-equipped kitchen where families can cook together, or a post-beach drink on the balcony or by a private pool. In other words, you're not just photographing rooms. You're giving guests a preview of their vacation.
The goal here isn't to make your property look like something it isn't. It's to photograph what you already have in a way that makes someone stop scrolling and think, "Yes, this is where I want to stay."
So, before pointing your camera at the nearest king bed and calling it a day, read our insider tips below on how to photograph your Navarre Beach rental to attract more bookings and, ultimately, give your revenue a boost.
Get to Know Us
At Blue Moon Vacation Rentals, we help vacation rental owners across Navarre Beach and Pensacola Beach increase revenue and enjoy less hands-on management. Our local team combines nationwide marketing, professional photography, smart pricing, and guest care with cleaning, maintenance, property inspections, and proactive hurricane protection.
In our blog, we share practical property management and design insights tailored to owners in Florida's competitive coastal rental market.
1. One Photo per Room Isn't Enough
One photo rarely tells the whole story of a room. Guests want to understand its size, layout, features, and how it connects with the rest of the property.
A useful rule is to capture three types of images: wide, mid-range, and close-up.
Start with a wide shot that establishes the room. Follow it with a mid-range image showing something useful, such as the dining table, reading area, or workspace. Finally, move closer for the details: fluffy towels, a coffee station, an interesting light fixture, or another feature worth noticing.
Aim for at least 25 strong photographs across the property. Remember that you're not trying to document every lamp and throw pillow. You're giving guests enough information to understand the home before they arrive.
2. Pick the Star of the Shot
It's quite tempting to stand in the doorway, point the camera at the room, and squeeze absolutely everything into one photo. Sofa? Check. Television? Check. Fireplace and balcony? Get those in too.
The truth? When everything competes for attention, nothing really wins.
Instead, ask yourself what guests should notice first. Maybe it's the fireplace in the living room, the king bed in the primary bedroom, or those Gulf views outside. Once you've found your star, build the photograph around it. Position yourself so the eye naturally travels toward that feature and remove objects competing for attention.
Think less "Here is my living room" and more "Wouldn't you like to be sitting here?"
3. Use Corners to Create Depth
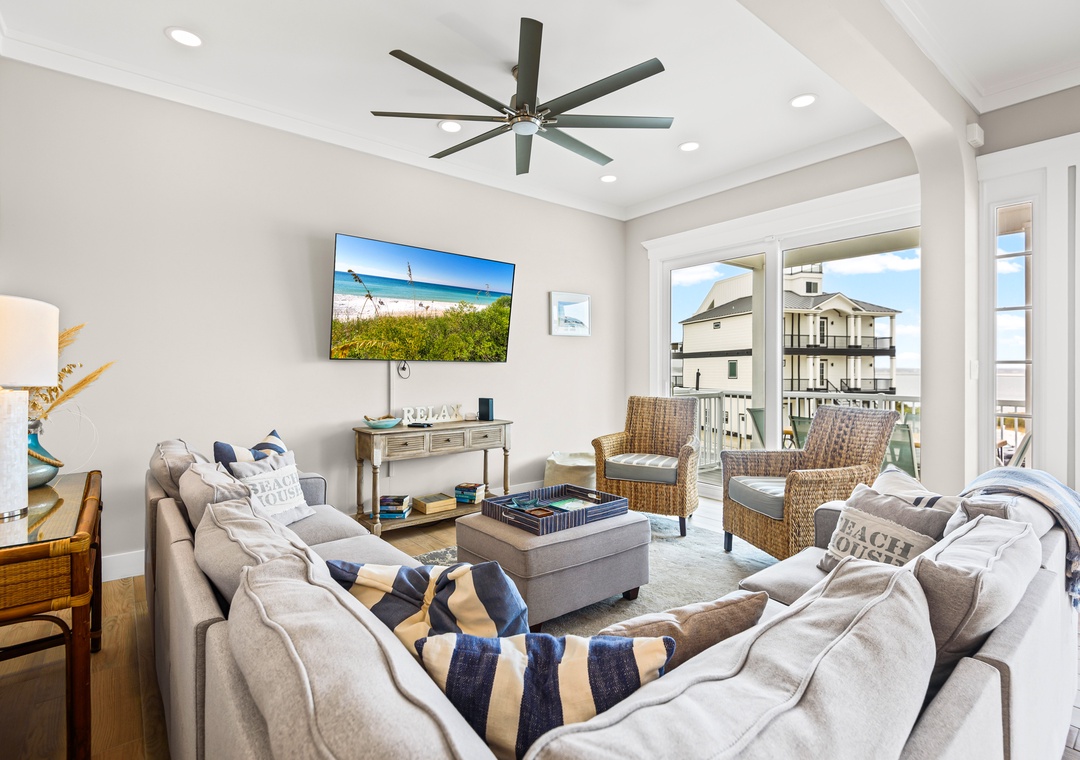
There's a reason real estate photographers spend so much time backed into corners. Shooting diagonally across a room helps communicate depth and gives guests a much better idea of its proportions.
Try several corners rather than automatically photographing a wall straight on. Include some floor in the frame, particularly when an area rug or flooring helps define the room.
And pay attention to how high you're holding the camera. You want to see the tops of beds, tables, and kitchen counters, so avoid positioning the camera too low and making furniture look like a collection of blocks.
One word of caution: don't let the wide-angle lens get too ambitious. A bedroom that looks enormous online but decidedly normal in person isn't doing you any favors.
4. Make the Most of That Florida Light
If you have Florida sunshine outside, use it.
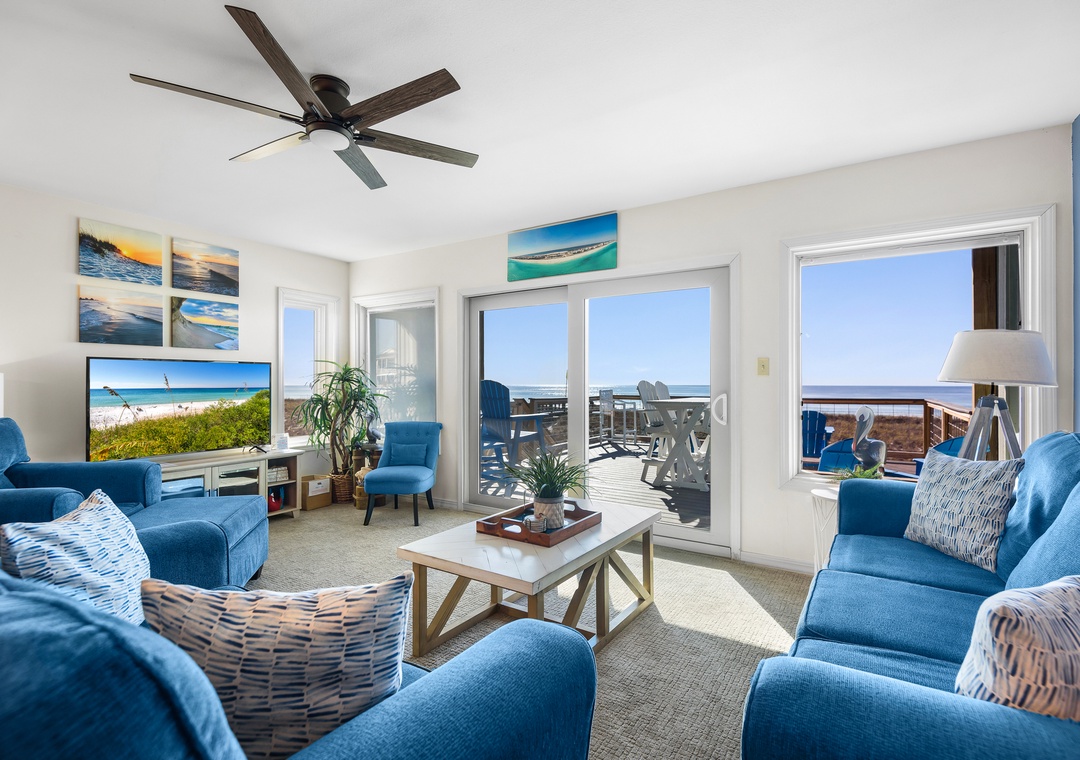
Open the curtains and blinds before shooting and plan interior photography for a bright day. Natural light gives rooms a fresher, more inviting appearance and helps colors and textures read properly.
Early morning and late afternoon are your best friends here. Softer sunlight adds warmth without the harshness of midday light, and these hours are particularly useful for outdoor spaces.
Don't feel you have to photograph the entire property in one go. Follow the light and shoot each space when it's looking its best.
5. Turn the Lights On Too
Sunshine is doing its job. Great. Now turn on the lamps.
Using interior lighting alongside daylight helps brighten darker corners and makes the room look warm and lived-in, not like everyone cleared out five minutes before the photographer arrived.
Switch on overhead fixtures, bedside lamps, floor lamps, kitchen lighting, and bathroom sconces. Check your bulbs beforehand too. Mixing cool white and warm yellow bulbs in the same room creates an awkward look on camera.
A quick word on harsh white bulbs: skip them. They're uncomfortable on the eyes and tend to flatten the design and kill the atmosphere.
6. Stage the Stay, Not Just the Space
There's a difference between photographing a room and selling the experience of staying there.
A bare dining table tells guests you own a table. A nicely set table helps them imagine breakfast with the family. A balcony chair is useful. A chair angled toward the Gulf with a small side table beside it starts telling a story.
You can also add small touches such as fresh flowers, plants, cushions, books, or a beautifully arranged coffee station. Keep them believable and relevant to the property.
Here's an important tip: know when to stop. Twenty decorative objects scattered across a coffee table don't say luxury. They say your cleaner has another 15 things to dust.
7. Photograph What Guests Actually Want to Know
Pretty photos get the click, but useful photos help get the booking.
Consider the questions guests ask before booking. How big is the dining table? Is there somewhere to work? What does the shower look like? Is the balcony furnished? How close is the pool to the house? Your gallery should answer those questions visually.
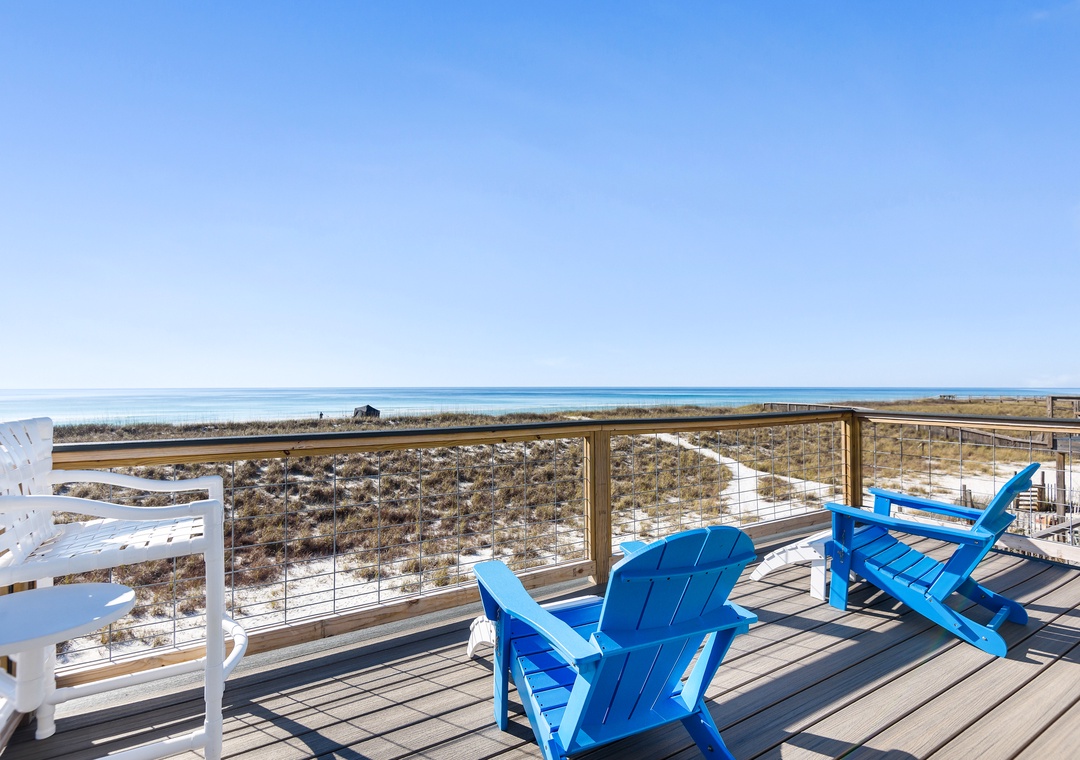
For a Navarre Beach rental, the Florida vacation itself should come through in the photos. Photograph Gulf views clearly. Show balconies, pools, outdoor dining spaces, beach equipment, outdoor showers, and other coastal amenities your property offers.
8. Choose Your Opening Shots Wisely
Your gallery has a pecking order, and the first few photos sit right at the top.
Your cover image, for example, has one important job: getting someone to click. Pick the photograph that best expresses why a traveler should choose your property over the next Navarre Beach rental on the results page.
Give the next few images just as much thought. Instead of showing five slightly different living-room angles, offer a quick visual summary of the property: a standout view, the living space, primary bedroom, outdoor area, and one standout amenity.
Those first few frames are your opening pitch. Don't waste them.
9. Let Guests Tour the Property Through Your Photos
Once you've grabbed someone's attention, help them understand where they are.
Arrange your photographs roughly in the order a guest might experience the property. Exterior or entrance, living spaces, kitchen, bedrooms, bathrooms, outdoor areas, and amenities is one logical approach.
Show how one space leads into another, too. A wide photograph showing part of the dining area from the living room helps explain how the spaces relate. The next shot might take guests closer to that dining area.
By the end of the gallery, someone who has never visited your rental should have a reasonably good mental map of it.
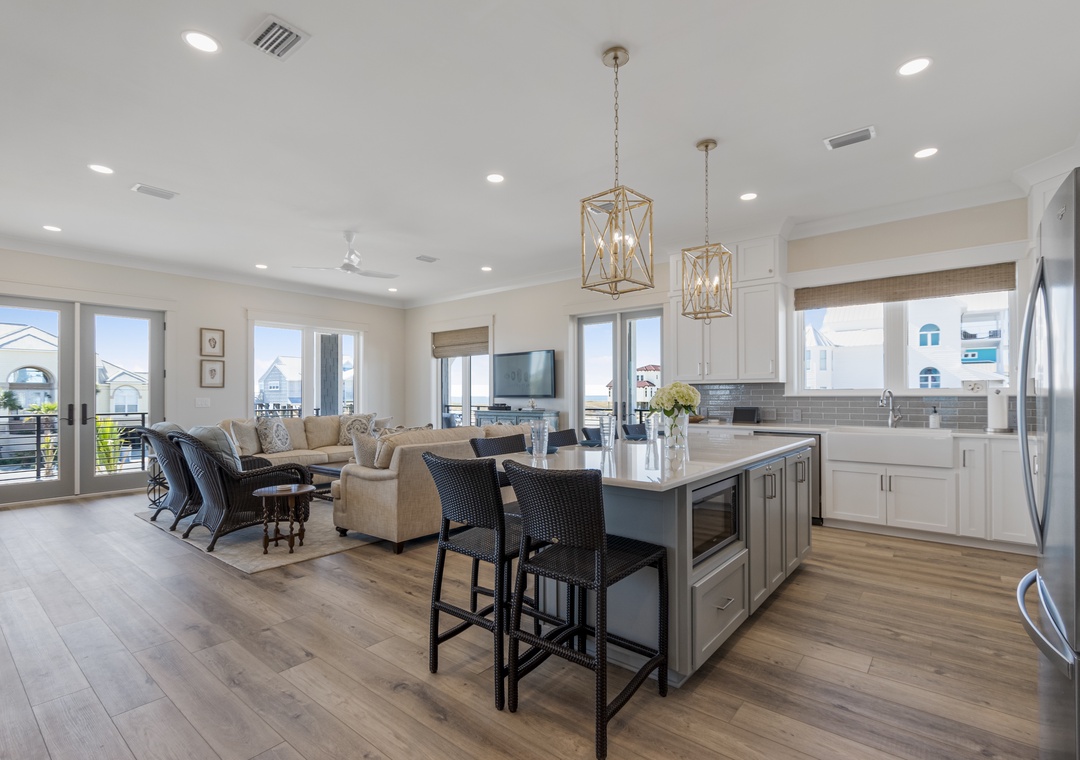
10. Show the Best, but Keep It Real
Show off the property, but don't stretch the truth.
Use attractive angles, wait for good light, straighten the cushions, and hide the cleaning bucket, but resist editing or lens tricks that exaggerate room dimensions and disguise flaws.
Photos establish expectations, and guests start comparing those expectations with reality almost immediately after arrival.
The same rule applies to your views. If the Gulf is visible only from one corner of the balcony, photograph the genuine view without giving guests the impression that every bedroom opens directly onto the sand.
Always keep in mind: oversell the property in your photos, and disappointment starts at check-in.
Bonus Tip: Put the Camera in Professional Hands
Modern phones take impressive photographs, and if you've got a good eye, they can produce quite respectable listing images. But photography is one area where saving a few hundred dollars upfront might cost you more in the long run.
A professional real estate or hospitality photographer knows their way around lenses, angles, lighting, composition, and editing, plus all those little tricks that make a space look great without bending reality. And unlike you, they haven't spent years admiring that backsplash you painstakingly picked out, so they'll have a clearer idea of what guests actually want to see.
Treat professional photography as part of your marketing budget, not a nice-to-have extra. One great photoshoot goes a long way, with images ready for booking platforms, your website, social media, email marketing, and more.
Just don't let those photos live online forever. New sofa? Shoot it. Kitchen renovation? Definitely show it off. Added a hot tub or upgraded the outdoor space? Guests should see it. Your rental changes over time, and your photo gallery should keep up.
Ready to Grow Your Navarre Beach Vacation Rental?
Are you preparing to list your first beach rental? Considering a new property management company? Looking for ways to improve bookings and revenue?
Blue Moon Vacation Rentals is here to help. Contact our team today for a free rental projection and personalized advice on how your Navarre Beach property can perform at its best.